Sighting In Your Rifle Before Deer Season: Zero, Ammo, and Field Checks

October 14, 2026
North Carolina's Northeastern Zone gun deer season opens Saturday, October 17, 2026. That makes this the week to confirm your rifle's zero, not the morning you plan to hunt. A few deliberate range sessions now can uncover a loose optic, a mismatched load, or a point-of-impact shift while you still have time to sort it out.
This guide focuses on zero and field confirmation for a rifle you already have set up. Scope mounting is a different job. If you need help with bases, rings, leveling, or eye relief, start with the related scope setup articles in the Iron Valor Armory blog. Here, we'll focus on what your rifle does on target with the ammunition you intend to carry.
Before you head out, confirm current season dates, regulations, and any rules that apply to the place you plan to hunt with the North Carolina Wildlife Resources Commission. Dates and requirements can change, so use the agency's current information rather than an old note or a well-meaning campfire recap.
Choose a Zero That Matches Your Hunt
For many Eastern North Carolina hunters, a 100-yard zero makes a practical starting point. It gives you a clear distance to confirm at the range and a useful reference for the kind of woods, field edges, and mixed cover that define plenty of local hunts. It also makes it easier to learn what your rifle and ammunition do at other distances.
A 100-yard zero does not mean the bullet travels in a perfectly straight line or stays exactly at your aiming point at every range. The sight sits above the bore, and the bullet follows an arc. Your rifle, scope height, ammunition, and conditions all influence where it strikes at distances other than the zero distance. Confirm those impacts with your own rifle instead of borrowing another hunter's numbers.
When a 50-yard zero may fit
A 50-yard zero can suit a setup used mostly at close range, or a specific rifle and load whose trajectory you have checked at the distances you expect to encounter. It can also help when your range access makes a measured 50-yard target easier to use as an initial checkpoint. But a 50-yard zero alone does not tell you where the bullet lands farther out. Verify that before you decide it matches your hunt.
When a 200-yard zero may make sense
A 200-yard zero can work for hunters who expect longer, more open shots and who have confirmed their actual impacts downrange. It asks more of your distance judgment and your practice. If most of your likely shots fall in closer cover, a 200-yard zero may add complexity without solving a real problem.
Choose the distance that fits your likely shot opportunities and your ability to confirm the rifle. Then set a personal limit based on what you can repeatedly do from a realistic position. A theoretical trajectory never steadies a wobbling rifle for you.
Bore Sight, Then Confirm With Live Fire
A bore sighter can get your first shots onto a nearby target and save time when your optic starts well away from the rifle's point of aim. Treat it as a starting reference, not as a finished zero. A bore sighter does not prove where your hunting load strikes, and it cannot replace a live-fire confirmation at your chosen distance.

Follow the firearm maker's instructions and the range's safety rules. Keep the muzzle pointed in a safe direction, verify the rifle is unloaded before using a bore-sighting device, and check the chamber again before you begin firing. When the rifle is ready for live fire, use the correct ammunition for its chambering.
If the first group lands far from the target center, make measured adjustments and work toward your final distance. Avoid large, hurried changes based on one hole. The goal is a repeatable point of impact, not a fast-moving turret.
Shoot Groups You Can Trust
Your group tells you more than a single shot. Start from a stable bench position with a solid front rest and rear support. Keep the rifle settled in the same way for every shot. Let it recoil naturally instead of gripping it harder when you expect the shot to break.
Use a consistent cheek weld, breathing rhythm, sight picture, and trigger press. Keep the reticle on the aiming point, press smoothly, and follow through after the shot. If your position shifts or your support changes, pause and rebuild it rather than trying to rescue the shot mid-string.

Why five shots give you more information than three
A three-shot group can show a useful early pattern, but it gives you fewer data points. A five-shot group offers a better look at how the rifle, ammunition, and shooter perform together. It can reveal a wider spread that a small sample might hide. Neither group size guarantees a particular result, but more consistent data supports better decisions.
Fire five deliberate shots from the same position, using the same point of aim. Let the barrel cool as needed, especially if you are working with a hunting rifle that will see only a few shots at a time in the field. Then mark the group and record what you see.
Adjust from the group center, not one shot
Find the center of the group and compare it with your point of aim. Adjust from that center. Do not chase the last bullet hole or change the turrets after every shot. A single impact can reflect a hurried press, a flinch, a changing rest, or ordinary variation. One round does not get to make policy for the whole rifle.
Read the scope's adjustment markings and consult its manual to understand the click value and the distance that value references. A click represents an angular change, so the amount it moves the impact depends on range. Make a measured correction, shoot another group, and verify the result. Never assume every scope uses the same click value.
Zero With the Ammunition You'll Hunt With
Your rifle's zero belongs to a specific combination of rifle, optic, and ammunition. Different bullet weights, bullet designs, or loads can strike in different places. Even when two boxes show the same caliber and bullet weight, they may not produce identical results in your rifle.
Use the exact hunting load you plan to carry for your final zero and confirmation. If you practice with another load, keep it clearly separate and switch back before you confirm your hunting setup. If you change loads after zeroing, return to the range and check the point of impact again. Don't let a familiar box color stand in for an actual test.
If practical, keep the ammunition lot consistent between your range session and hunt. Write down the load and lot information with your range notes. That record helps you recognize what changed if a later group lands somewhere unexpected.
Pay Attention to the Cold-Bore Shot
The first shot from a cold barrel deserves its own attention. That shot often matters most in hunting, where you may not fire a warm-up round before an opportunity appears. Some rifles shift point of impact between a clean barrel and a fouled barrel, while others show little change. Your target, not a general rule, will tell you what your rifle does.
Record the first shot separately. Note whether the barrel was clean or fouled, how long it had cooled, and whether the shot landed with the later group. If the first shot falls outside the area you consider acceptable, don't dismiss it simply because the next shots cluster neatly. Investigate the difference and repeat the test.
Be consistent about cleaning. If you clean the barrel before the hunt, confirm how the rifle shoots after cleaning and follow the firearm maker's maintenance guidance. Avoid a last-minute deep cleaning unless you have time to verify the point of impact afterward.
Check the Scope and Rifle Before Opening Day
A rifle that held zero last season still deserves a careful look. Travel, storage, bumps, cleaning, and changes to the setup can all prompt a fresh confirmation. You do not need to repeat the installation process every time, but you should notice anything that could affect the optic or rifle.
- Inspect the scope, mounts, and visible fasteners for signs of movement or damage. If you need to check fastener torque, use the scope and firearm manufacturers' instructions rather than guessing.
- Look through the optic for clean, undamaged lenses and a clear reticle. Confirm that the reticle appears upright when you hold the rifle as you normally shoot.
- Check that turret caps sit securely and that any exposed adjustments remain where you set them.
- If your scope has adjustable parallax, set it for the target distance as directed by the scope maker. Keep your head position and cheek weld consistent.
- Make sure any change to a muzzle device or other attached equipment has not altered the rifle's point of impact. Confirm zero again after a meaningful configuration change.
Reticle cant can complicate your point of aim, especially as distance increases. Shoulder the rifle naturally and check that the vertical reticle line looks upright against a vertical reference. If you suspect the reticle has shifted inside the scope, stop making random adjustments and get the optic checked.
Confirm the Rifle From Field Positions
A bench rest helps you isolate the rifle, but the bench is not your tree stand, blind, or ground position. Once you have confirmed the zero from a stable rest, practice from the positions and supports you can use safely and legally where you hunt. That might include a seated position, a kneeling position, or shooting sticks if you plan to carry and use them.
Wear the layers you expect to hunt in. Use the same sling and other gear that may affect how you shoulder the rifle. Confirm that you can see the full sight picture without forcing your head forward or lifting your cheek from the stock. Small fit differences can change how consistently you mount the rifle.
After travel to your hunting area, check the rifle and optic for obvious damage or movement. When you can do so safely and at an approved range, fire a confirmation group with your hunting ammunition. Keep the rifle unloaded during transport and follow applicable firearm and range safety requirements.
Carry ammunition that matches the load you used to confirm zero. Keep it protected from moisture and damage, and make sure you can identify it without confusion. A simple note with your range records can help: rifle, load, lot, date, barrel condition, group center, and the distance you confirmed.
If Your Zero Will Not Hold
Stop adjusting when the point of impact moves unpredictably or groups keep changing. Repeated turret corrections cannot solve a loose mount, inconsistent ammunition, a damaged optic, an unstable rest, or an inconsistent shooting position. Start by checking the simple variables: ammunition, rest, technique, barrel condition, and whether the rifle or scope has taken a knock.
Change one variable at a time and record what you change. If the rifle still will not group or the point of impact keeps wandering, have a qualified gunsmith or optics professional inspect it. Do not take a rifle with an unexplained zero shift into the field and hope the next shot settles the argument.
A Simple Preseason Zero Checklist
- Confirm current North Carolina season dates and hunting rules with NCWRC.
- Choose a zero distance that suits your likely shots and your ability to verify it.
- Use a bore sighter only to get close, then zero with live fire.
- Use your exact hunting ammunition for final groups and confirmation.
- Shoot deliberate five-shot groups from a stable rest and adjust from group center.
- Record the cold-bore shot, barrel condition, ammunition details, and group results.
- Inspect the scope and rifle, then confirm from a field-style position and support.
- Recheck after travel or any change that could affect the rifle's zero.
The purpose of sighting in is not to build a pretty target for the wall. It is to know where your rifle and hunting load place shots under conditions you can repeat, and to recognize when something changes. Take the time this week. Opening morning deserves a rifle you have already checked.
Iron Valor Armory Service Area
Iron Valor Armory is a home-based Type 07 FFL in Rocky Mount, North Carolina, by appointment. We serve hunters and firearm owners in Wilson, Tarboro, Greenville, Roanoke Rapids, Henderson, Goldsboro, Elm City, Sharpsburg, Bailey, Middlesex, Wake Forest, Clayton, Smithfield, Kinston, Knightdale, Rolesville, and Youngsville. Visit our services page or contact Iron Valor Armory to learn more.
Published by Iron Valor Armory · Rocky Mount, NC 27803
Shop optics & sights →Shop optics & sights in stock
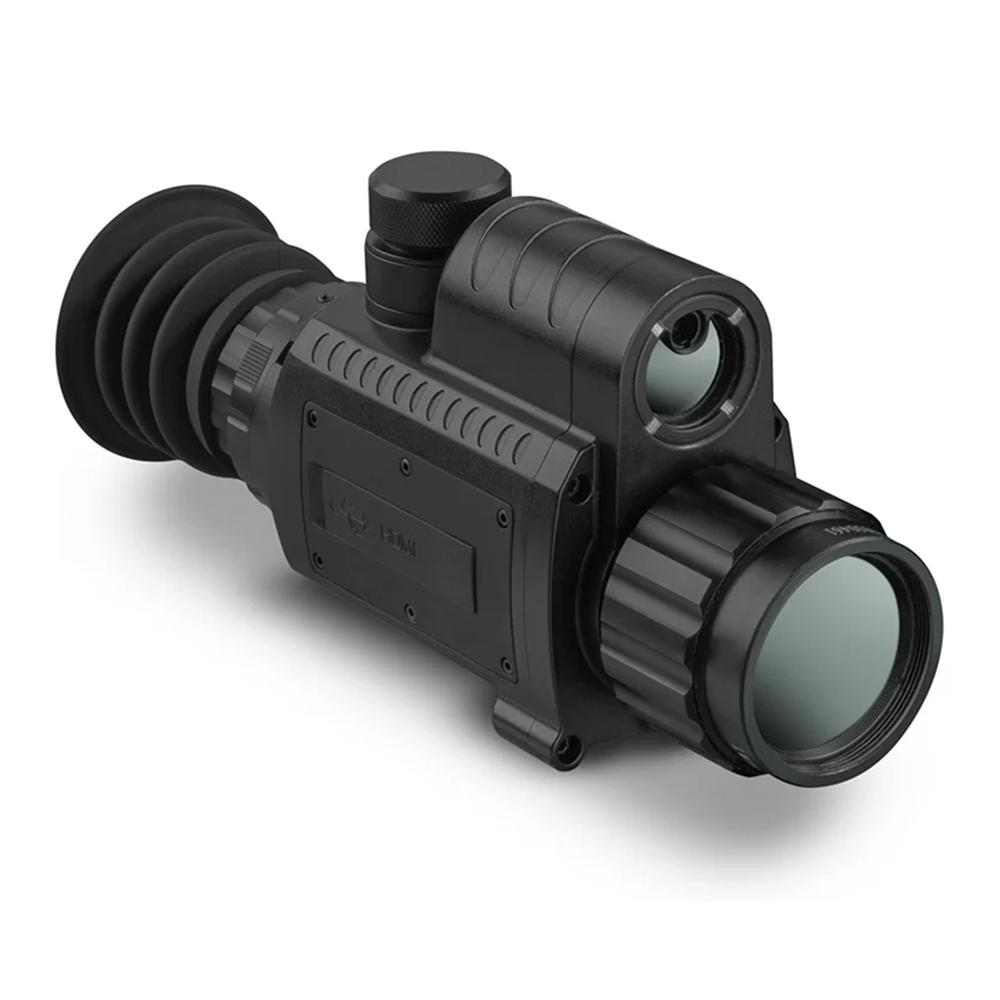
Konus Optics
Konus Fiery 3 in 1 Thermal Monocular/Sighting Optic/Clip-on Black
$2,529.99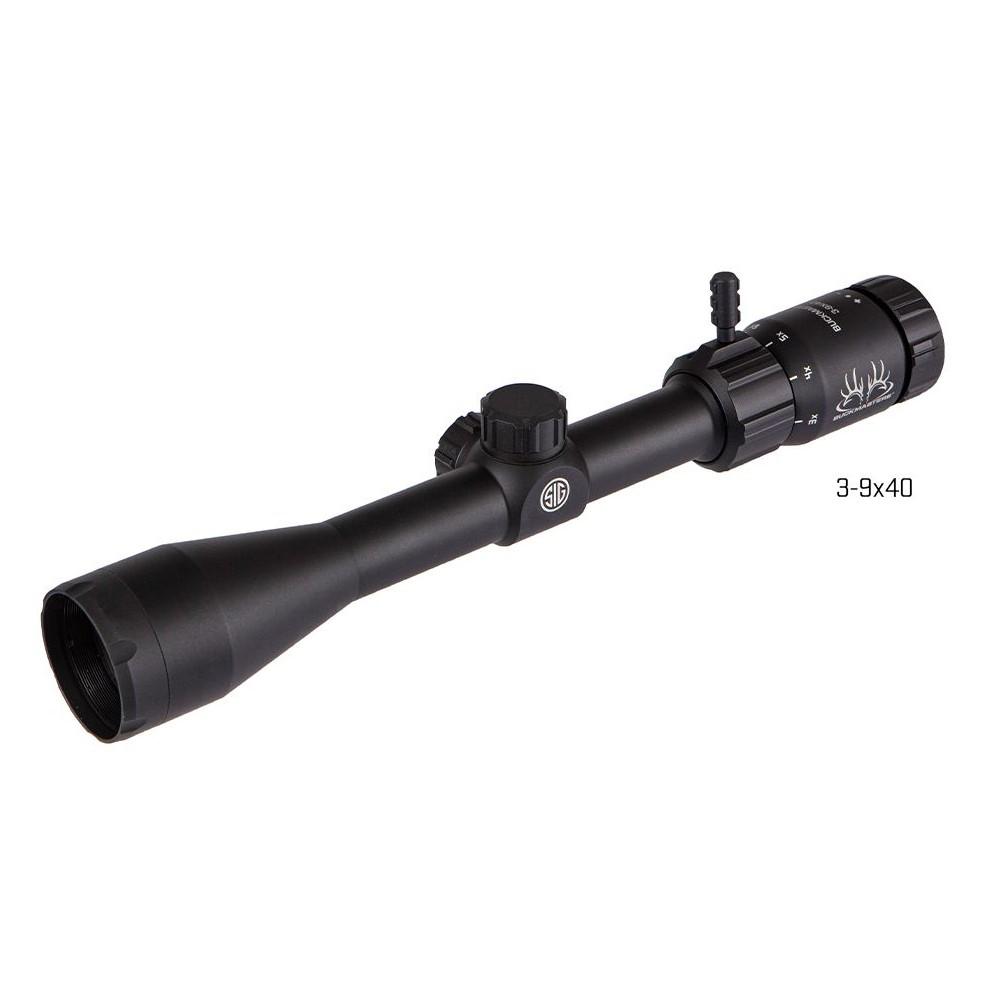
Sig Sauer
Sig Sauer Buckmasters Rifle Scope 3-9X40mm 1" SFP BDC Non Illum. Black
$93.59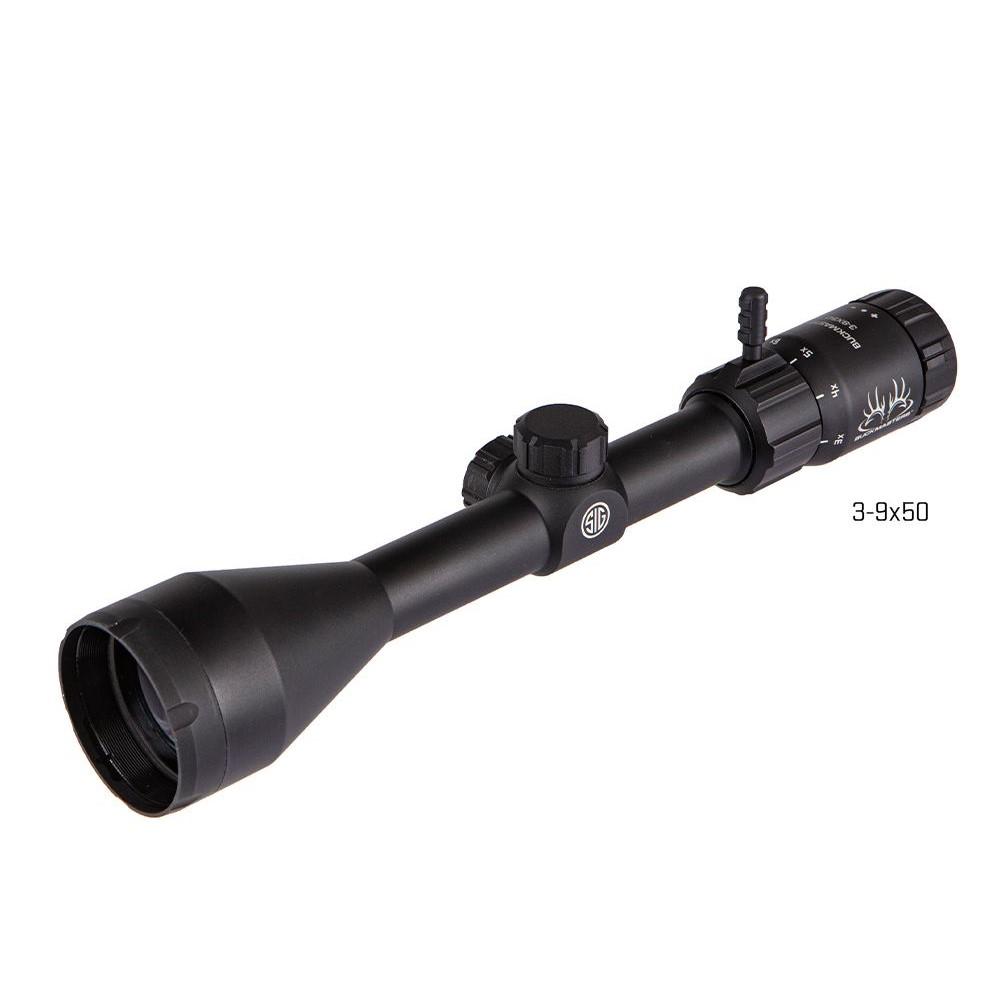
Sig Sauer
Sig Sauer Buckmasters Rifle Scope 3-9X50mm 1" SFP BDC Black
$103.99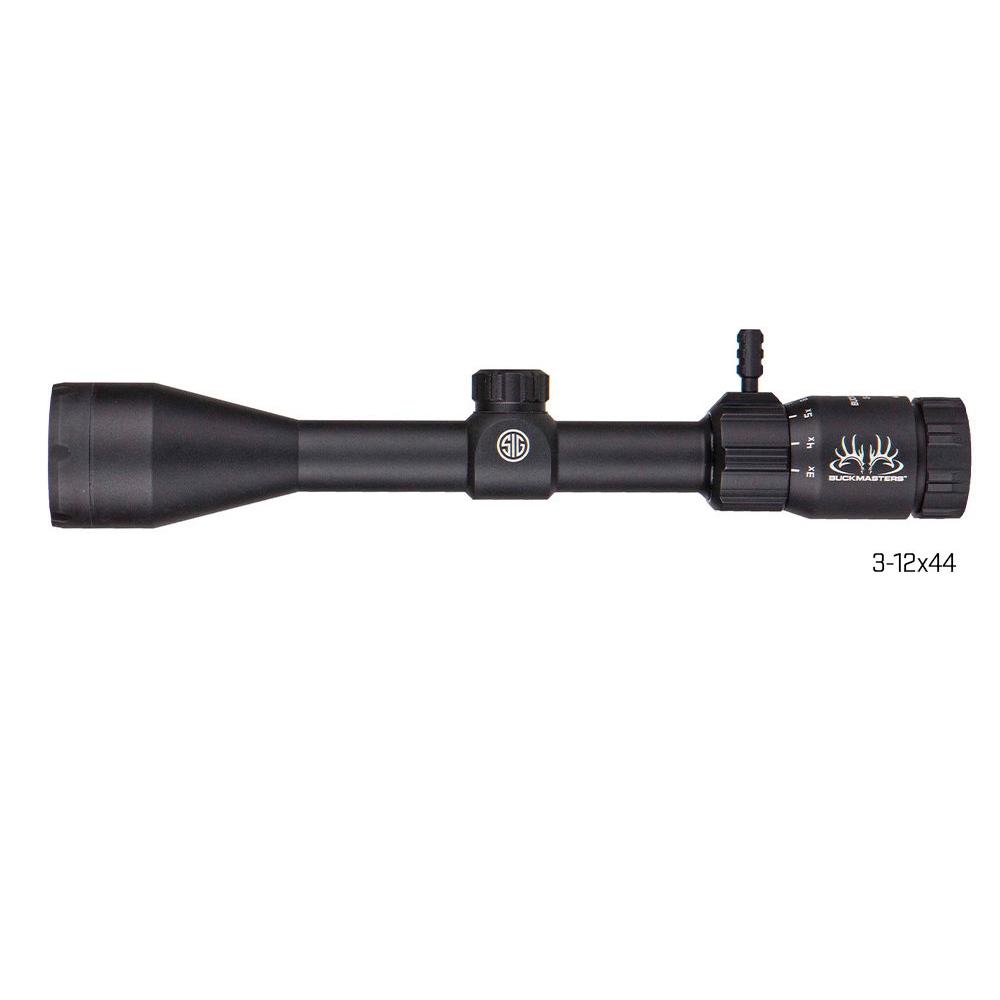
Sig Sauer
Sig Sauer Buckmasters Rifle Scope 3-12x44mm 1" SFP BDC Reticle Black
$98.79
Related articles
All articles →
rifle cleaning
How to Clean and Store Your Rifle After Deer Season: A North Carolina Hunter's Guide
After your last deer hunt, give your rifle a thorough, model-specific cleaning and store it for the months ahead. This practical guide covers safe unloading, bore and action care, stock and optic inspection, humidity control, and separate ammunition storage.

deer season
North Carolina Deer Season Dates, Bag Limits, and Tagging Rules for 2026-27
North Carolina's deer seasons change by zone, and the statewide bag limit is only part of the picture. Use this 2026-27 guide to check season dates, tagging and reporting requirements, and the current rules for the county and property you plan to hunt.

hunting season prep
Hunting Season Prep: Your Gear Checklist Before Opening Day
Opening day has a way of exposing every item you forgot. Use this hunting season prep checklist to inspect your firearm or bow, verify optics, pack smarter, and head into the woods ready for opening day.