
After the Shot: Blood Trailing and Deer Recovery Gear for North Carolina Hunters


Rocky Mount sits in North Carolina’s Northeastern deer zone, and the 2026 gun season opens on October 17. With roughly ten days left, most hunters are thinking about zeroing rifles, checking ammo, and getting their hunting apparel ready. That matters. But the hunt does not end when you squeeze the trigger.
The minutes after the shot often decide whether you recover the deer cleanly or lose the trail. Your job is simple: slow down, remember what happened, protect the evidence, and make each move on purpose. A deer recovery does not need drama. It needs discipline.
This guide covers what to do immediately after the shot, how to read blood and other sign, when to wait, how to grid-search correctly, and what North Carolina hunters should know about using a leashed tracking dog.
Start by Reconstructing the Shot
Keep watching the deer as long as you safely can. Note the direction it traveled, whether it stumbled, kicked, mule-kicked, hunched, slowed down, or crashed through brush. Listen for a fall, a change in pace, or the sound of the animal crossing a ditch, fence, or creek.
Before leaving your shooting position, mark the exact location. Use a waypoint on your phone, drop a biodegradable marker, or place a visible piece of flagging beside the spot. Then mark the last place where you clearly saw the deer. Those two points create the first line of your search.
Do not rush straight into the woods because the trail looks promising. A poorly hit deer can travel a long way if you push it. A clean recovery begins with a realistic assessment, not optimism dressed up as confidence.
Read the First Sign Without Destroying It
Walk beside the suspected trail rather than directly on top of it. Photograph important sign before you touch anything. Mark confirmed blood, hair, tissue, tracks, broken branches, and disturbed leaves at regular intervals so you can backtrack if necessary.
The first blood may not appear at the impact location. A deer can travel several yards before the wound begins leaving an obvious trail, so a clean shooting spot does not automatically mean a miss.
- Bright red blood can indicate arterial bleeding.
- Bright, bubbly, or frothy blood often points toward a lung hit.
- Dark blood may indicate a liver, muscle, or other lower-oxygen wound.
- Dark material mixed with stomach contents suggests an abdominal hit and calls for patience.
- Hair without blood can show where the bullet or arrow contacted the animal, but it does not prove a lethal hit.
- No sign still requires a careful search of the shooting location and the deer’s last known path.
Look above ground level, too. A wounded deer can brush blood onto grass, briars, saplings, and low branches. Those marks may provide a clearer direction than faint drops on leaves.
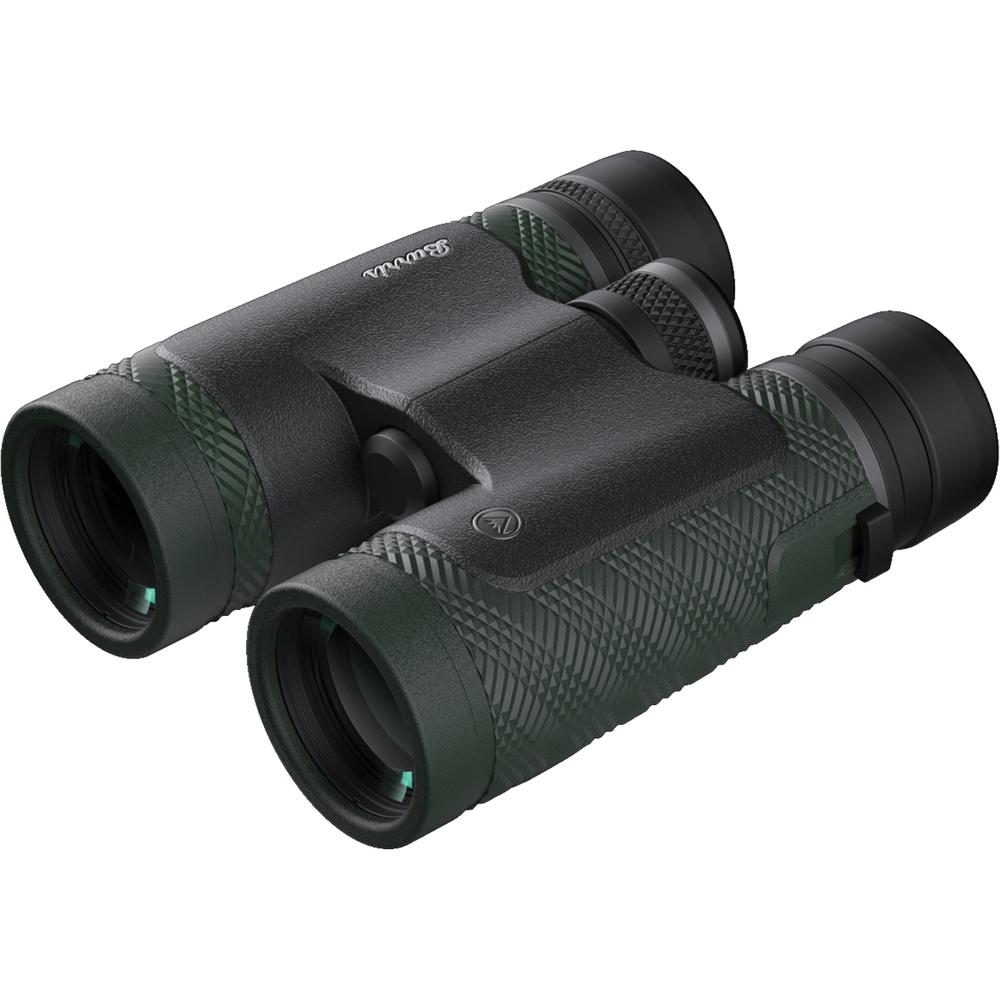
Binoculars can help you inspect brush and openings without walking through them. Spotting scopes remain useful for pre-hunt observation from a fixed position, but binoculars usually make the better recovery companion because they are faster to handle and easier to carry through thick cover.
When Should You Wait?
If you find a strong trail of bright, frothy blood quickly, the deer may lie close. A short wait may make sense, often 15 minutes or less, depending on what you observed and the conditions.
Sparse dark blood, stomach contents, or uncertain sign calls for a much longer pause. Wait one to several hours when the evidence suggests a marginal or abdominal hit. Pushing the deer can make it travel farther, cross onto property where you lack permission, or bed again before the wound has done its work.
North Carolina Wildlife Resources Commission guidance emphasizes the same principle: give a poorly hit deer time to lie down and expire rather than forcing it to keep moving. Read the sign, consider the weather and temperature, and choose the recovery window that gives you the best chance of success.
Warm October conditions add urgency once you recover the animal. Do not turn a careful wait into an unnecessary all-day delay. If darkness arrives, safety and legality take priority over stubbornness.
Follow the Trail in a Controlled Way
Keep one person at the last confirmed sign while another searches ahead. The person at the rear prevents the group from losing the exact point where the trail was last certain. Everyone else should move slowly and scan both the ground and nearby vegetation.
When the trail becomes faint, stop. Mark the last confirmed sign, then search a narrow area around it. Look for displaced leaves, clipped vegetation, tracks, hair, and small drops on the sides of plants. Do not immediately spread out in every direction. Random walking turns a recoverable trail into a group project with no map.
If the trail disappears, establish a grid. Start at the last confirmed sign and work parallel lanes through the likely direction of travel. Keep the lanes close enough that each person can inspect the ground and low brush. Mark every lane or turn with biodegradable flagging, then remove the markers when you finish.
Use the terrain to guide your search. A wounded deer often follows the easiest route, travels downhill, seeks cover, and may move toward water. Those tendencies do not replace sign, but they help you prioritize where to look next.
Using a Leashed Tracking Dog in North Carolina

North Carolina law allows a hunter who killed or wounded a big-game animal during legal hunting hours to use a portable light and one dog on a leash to assist with recovery. The dog must remain controlled and leashed. This is recovery work, not an excuse to chase deer or turn a tracking effort into an additional hunt.
Under North Carolina General Statute 113-291.1, pursuit and retrieval may continue from one-half hour after sunset until 11:00 p.m. when necessary. You cannot use a motorized vehicle during that pursuit and recovery. The statute also addresses humane dispatch of a wounded big-game animal with the limited methods it describes.
Before calling a handler, preserve the trail as much as possible. Tell the handler exactly where you shot, where you last saw the deer, what blood you found, and how long you waited. Keep permission in mind if the trail crosses property boundaries. A tracking dog does not override trespass rules, harvest-reporting requirements, or current season regulations.
Check the current North Carolina regulations before hunting because wildlife rules can change. When in doubt, contact the North Carolina Wildlife Resources Commission rather than relying on an old season memory or a confident story from camp.
Build a Compact Deer Recovery Kit

Your recovery kit should stay small enough to carry every hunt. Lightweight hunting gear earns its place when it helps you preserve sign, stay oriented, or work safely after sunset.
- Headlamp with a fresh battery and a spare set
- High-output handheld flashlight
- Biodegradable flagging, tissue paper, or trail markers
- Phone with offline maps, GPS, and a charged power bank
- Notebook and marking pen for recording direction and sign
- Nitrile or field gloves
- Binoculars and a rangefinder
- Small spray bottle of hydrogen peroxide for locating faint blood
- Compact first-aid kit and water
- Game bags, contractor bags, and a sharp field knife for the recovery stage
Keep your firearm under control throughout the process. Once you leave the stand, unload it when crossing fences, streams, logs, or other obstacles. Use a sling or another secure firearm accessory, and never climb or crawl with a loaded gun in your hands.
Before the season, inspect your guns, confirm your zero with the ammo you will actually hunt with, and check your optics and lights. If you reload, keep reloading equipment and load development at the bench; the field kit should focus on recovery, navigation, safety, and meat care. Tactical gear can help with organization and illumination, but no gadget replaces careful shot placement and patient tracking.
Approach the Deer Carefully and Report the Harvest
Approach a downed deer from behind. Use a long stick to touch near the eye and look for movement or breathing. Do not assume the animal is dead because it lies still. If a follow-up shot becomes necessary, keep the muzzle in a safe direction and follow the legal method for the season and situation.
After the deer is confirmed down, validate and report the harvest before moving or processing it. The North Carolina Wildlife Resources Commission harvest-reporting page states that hunters must validate the appropriate report-card block before moving the animal from the kill site. Reporting must occur before the deer is skinned, dressed, dismembered, left unattended, transferred, or by noon the following day.
For more after-the-hunt guidance, review the Commission’s official after-hunt resource. Cool the carcass promptly, follow current transport and disposal rules, and check any active chronic wasting disease requirements for the county and date of your hunt.
Service Area for Deer Recovery Gear near Rocky Mount, NC
Iron Valor Armory helps hunters in Rocky Mount and surrounding communities prepare with dependable hunting gear, hunting apparel, firearm accessories, optics, ammo, and field equipment. Our service area includes:
- Wilson
- Tarboro
- Greenville
- Roanoke Rapids
- Henderson
- Goldsboro
- Elm City
- Sharpsburg
- Bailey
- Middlesex
- Wake Forest
- Clayton
- Smithfield
- Kinston
- Knightdale
- Rolesville
- Youngsville
Browse hunting and outdoor gear, shop optics and sights, or review accessories and gear before opening day.
Final Field Reminder
The best deer recovery starts before the shot. Know the terrain, carry the right equipment, and decide in advance how you will mark sign and handle a long trail. After the shot, wait when the evidence tells you to wait, walk beside the trail, mark every confirmed clue, and search in a controlled pattern.
October 17 will arrive quickly. Prepare your guns, ammo, optics, hunting apparel, and recovery kit now. When the moment comes, make the shot count, and give the deer the follow-up it deserves.
Article Field Block
Published by Iron Valor Armory · Rocky Mount, NC 27803
Shop hunting & outdoors →Shop hunting & outdoors in stock
Related articles
All articles →
deer rut
North Carolina's November Deer Rut: When It Peaks and How to Hunt It
Rut tactics matter more than a date on the calendar. Learn how to hunt doe travel, funnels, fresh sign, and midday movement as North Carolina bucks search, chase, and breed.

deer hunting
Reading Buck Sign Before the Pre-Rut: How to Scout North Carolina's October Window
Early October gives North Carolina deer hunters a valuable scouting window. Learn how to read fresh buck sign, confirm daylight movement, and build a wind-smart hunt before the October 17 opener.

treestand safety
Treestand Safety Before Opening Day: Gear and Habits That Get North Carolina Hunters Home Safe
North Carolina’s first deer openers are close. Use this practical treestand safety checklist to inspect your equipment, fit your harness, climb safely, and return home after every hunt.