
Glass More, Walk Less: How to Scout Deer with a Spotting Scope Before the October 17 Opener


North Carolina’s northeastern gun deer season opens Saturday, October 17, 2026. That gives you roughly ten days to make your scouting count before opening morning turns every field edge into a busy place.
Here’s the reality: you do not need to walk every acre to learn where deer spend daylight. With a steady spotting scope, a good vantage point, and a little patience, you can inspect field edges, cutovers, timber fingers, and travel corridors from a distance. Less walking means less noise, less scent spread, and fewer chances to turn the deer you want to hunt into the deer that suddenly hunts you.
Think of your spotting scope as a scouting tool first and a glassing accessory second. Binoculars help you find movement. The spotter helps you decide whether that movement deserves a closer look.
Your Ten-Day Scouting Window
Start with a map and identify likely observation points before you load the truck. Look for high ground, open field corners, road edges where stopping is lawful, and other locations that let you see several habitat transitions without entering bedding cover.
Farm country often gives you excellent visibility. Deer may leave a cutover, cross a narrow opening, or feed along a field edge just before dark. You can learn a great deal by watching those transitions repeatedly instead of marching through the cover and leaving your calling card everywhere.
Use the next ten days to build a simple record:
- Mark where deer enter and exit open ground.
- Note the time of each sighting.
- Record wind direction, temperature, and cloud cover.
- Separate does, young deer, and bucks in your notes.
- Mark likely access routes that keep you away from bedding cover.
One evening of observation rarely tells the whole story. Three or four sessions from different angles can reveal a dependable pattern without requiring you to walk directly through it.
Build a Stable Observation Position
Spotting scopes magnify everything, including hand movement. A shaky setup can make a standing deer look like it is dancing a jig, which does not help your identification process.
Use a solid tripod on firm ground. Extend the thicker leg sections first, keep the center column low, and avoid placing the setup on loose gravel, a soft truck bed, or a vibrating tailgate. If you glass from a vehicle, a window mount can work well, but shut the engine off before you begin. The best spotting scope in the world cannot defeat a running diesel.
A high point gives you a wider view and often helps you see over grass, brush, and shallow folds in the land. A truck or roadside position can also work when you have permission or can legally stop without creating a traffic hazard. Keep the vehicle between you and the cover when possible, move slowly, and avoid slamming doors or making repeated trips in and out.
Pack the rest of your support system with the same practical mindset. A compact tripod, shooting sticks, a window mount, a small seat, and a notebook can do more for a scouting session than a heavy pile of equipment you never want to carry.

Scan with Binoculars, Confirm with the Spotter
Do not begin every session by searching through the narrow field of view of a spotting scope. Start with binoculars. Sweep the entire field in sections, checking shaded edges, brush lines, isolated trees, and the openings between rows of cover.
Once you locate movement, place the spotting scope on the same landmark. Use the lowest practical magnification first, center the animal, and increase power only after the image settles. Higher magnification narrows your field of view and makes every vibration more obvious.
This binocular-and-spotter split keeps your eyes fresher and your search more efficient:
- Binoculars: Find movement, scan large areas, and watch for multiple deer.
- Spotting scope: Confirm antler visibility, body size, behavior, and exact travel routes.
- Notebook or phone map: Record the observation without relying on memory after a long evening.
If you are comparing the best spotting scopes for hunting, focus on how the scope fits your actual scouting style. Weight, tripod compatibility, eye comfort, and field handling matter more than impressive specifications on a box. Your scope needs to help you observe carefully, not win a numbers contest at the tailgate.
How to Confirm a Legal Buck at Distance
Do not make a long walk based on a vague flash of antler. Confirm the deer before you commit to an approach.
First, determine whether the animal actually has visible antlers. North Carolina defines antlers as bony structures that protrude through the skin. Knobs or buttons covered by skin or velvet do not count as visible antlers under the state’s deer regulations. At long distance, that distinction can disappear quickly, especially in warm haze or low light.
Next, study the whole animal. Body size, chest depth, neck thickness, posture, and movement can help you distinguish a mature buck from a young deer or a doe. Antler shape can also help, but never let a blurry outline turn into a confident conclusion. If the image will not resolve, mark the location and watch again on another day.
This process saves more than walking. It prevents you from entering a field edge, crossing a likely travel route, or pushing through cover for a deer that never met your legal or personal criteria in the first place.

Read Mirage, Heat Shimmer, and October Light
Early October in eastern North Carolina can bring warm afternoons and surprisingly strong heat shimmer. Air rising from a sun-baked field bends and distorts the image. Grass may look like antlers. A flicking leaf may look like a deer’s ear. Mirage turns certainty into soup.
When the image starts to ripple, lower the magnification and wait for cooler conditions. Glass from shade when possible, and avoid pointing the scope directly across a heated road or open dirt surface. The last hour before dark often produces better contrast as the ground cools, but the light can disappear fast.
At first and last legal light, light-gathering performance matters. Larger objectives can help, but they also add weight and demand a stronger tripod. Keep the scope clean, adjust the eyepiece for your eye, and take short breaks instead of forcing your vision through a dim image.
Eye fatigue creates bad decisions. After several hours of glassing, your brain may start filling in missing detail. Close your eyes for a minute, look at a nearby object, drink water, and reset your focus. Your eyes are hunting equipment too, even though nobody remembers to put them on the gear checklist.
For more ways to reduce pack weight while keeping your setup useful, review this guide to lightweight hunting gear. A manageable setup encourages longer observation sessions and fewer unnecessary trips through the woods.
Use Good Glass to Reduce Pressure on Public Land
Public land demands discipline. Deer often react to repeated foot traffic long before you notice the change. A spotting scope lets you inspect distant openings, watch escape routes, and identify promising terrain without immediately stepping into the core area.
That does not mean you should sit in a parking area and assume the scope solves every problem. You still need to verify access, wind, terrain, and a safe route. The advantage comes from narrowing your options before you walk.
Use your glass to answer practical questions:
- Which field edge shows daylight movement?
- Does the travel route connect cover to food or water?
- Can you approach without crossing the deer’s likely path?
- Where can you set up with a safe backstop and clear visibility?
- Will the wind carry your scent into the cover?
Once you answer those questions, move with purpose. Your shooting sticks, rifle, ammo, firearm accessories, and hunting apparel should support that plan, not replace it. Confirm your firearm and ammunition separately at the range, and follow all applicable safety rules before carrying a gun afield.
Keep Scouting Legal and Low Impact
Daytime glassing from a location where you may lawfully stand, park, or access is a legal, low-impact scouting method. Still, optics do not override property boundaries. Get permission before entering private land, follow game-land rules, and check the current North Carolina regulations for the county and property you plan to hunt.
Do not use artificial light to locate deer at night. Do not trespass because a deer appears across a fence. If you carry a firearm, follow the open season, legal shooting hours, licensing, tagging, hunter-orange, and weapon requirements that apply to your hunt. The North Carolina deer regulations and the state’s 2026–2027 season dates should be part of your final pre-opener check.

Serving Hunters Around Rocky Mount
Iron Valor Armory helps hunters build practical setups for optics, hunting gear, firearm accessories, guns, ammo, and seasonal preparation in Rocky Mount, NC. We serve hunters and shooting sports enthusiasts throughout Wilson, Tarboro, Greenville, Roanoke Rapids, Henderson, Goldsboro, Elm City, Sharpsburg, Bailey, Middlesex, Wake Forest, Clayton, Smithfield, Kinston, Knightdale, Rolesville, and Youngsville.
Whether you need a stable support system, optics guidance, or dependable equipment for the October opener, our team can help you choose gear that fits your terrain, hunting style, and pack. Visit the Iron Valor Journal for more North Carolina hunting season guides and preparation tips.
Your Ten-Day Spotting Scope Checklist
Before October 17, inspect your tripod, clean the lenses, test your window mount, and practice finding landmarks quickly. Spend several evenings glassing from lawful observation points. Use binoculars to scan, the spotting scope to confirm, and your notes to identify repeatable movement.
Most importantly, let the deer tell you where to look. Good glass does not replace field knowledge. It helps you gather that knowledge with fewer miles, fewer disturbances, and better decisions when opening morning finally arrives.
Glass more. Walk less. Show up with a plan.
Published by Iron Valor Armory · Rocky Mount, NC 27803
Shop optics & sights →Shop optics & sights in stock
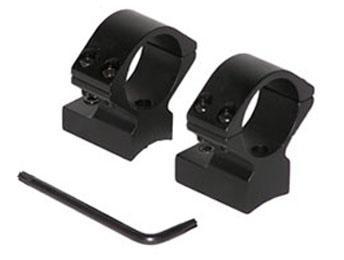
Talley Mounting Systems
Talley Lightweight Alloy Scope Mounts - Black Anodized - 1" - Medium Winchester 70 (.860) Std. Cal. & Short Mag.
$39.78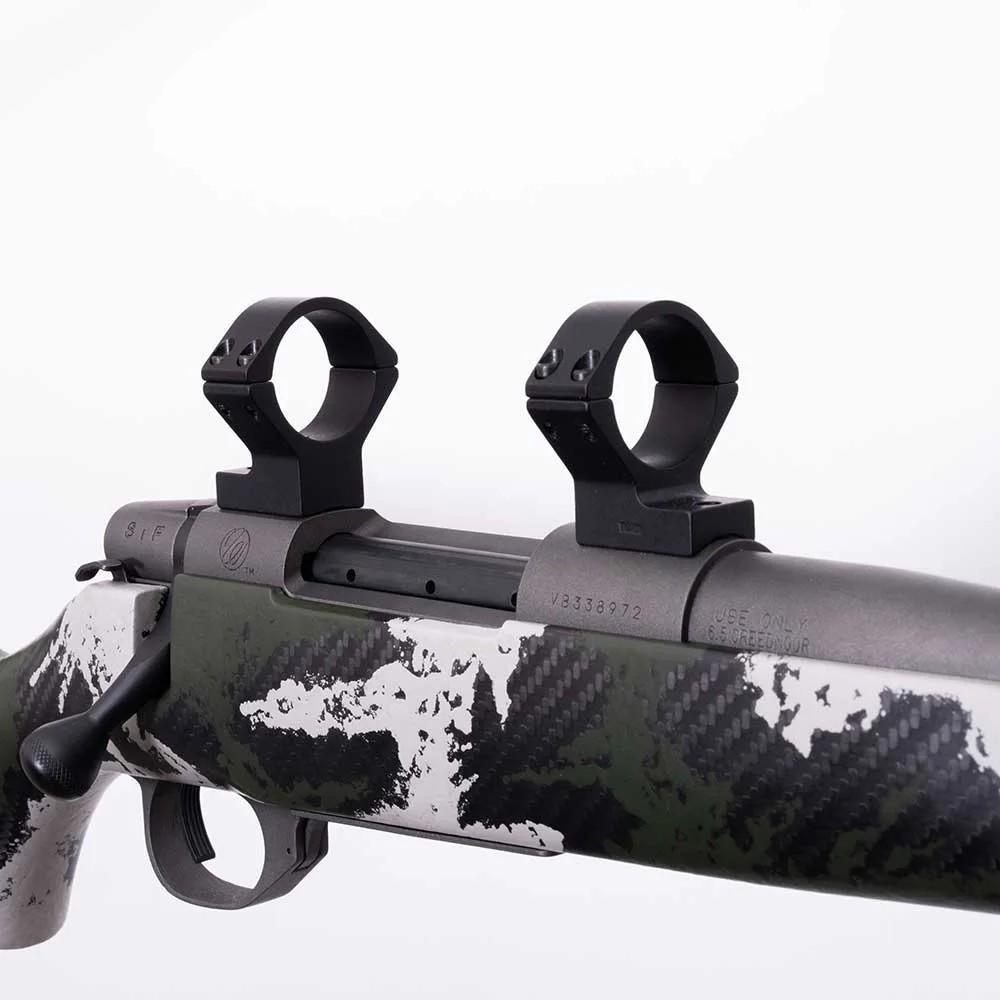
Weatherby
Weatherby Vanguard 2-Piece Lightweight Scope Mount Long & Short Action 30mm Medium Black
$46.93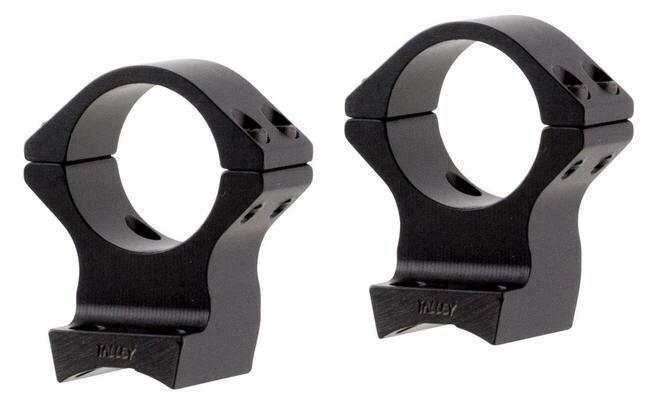
Talley Mounting Systems
30mm Lightweight Alloy Scope Mounts X-Bolt (Med)
$47.02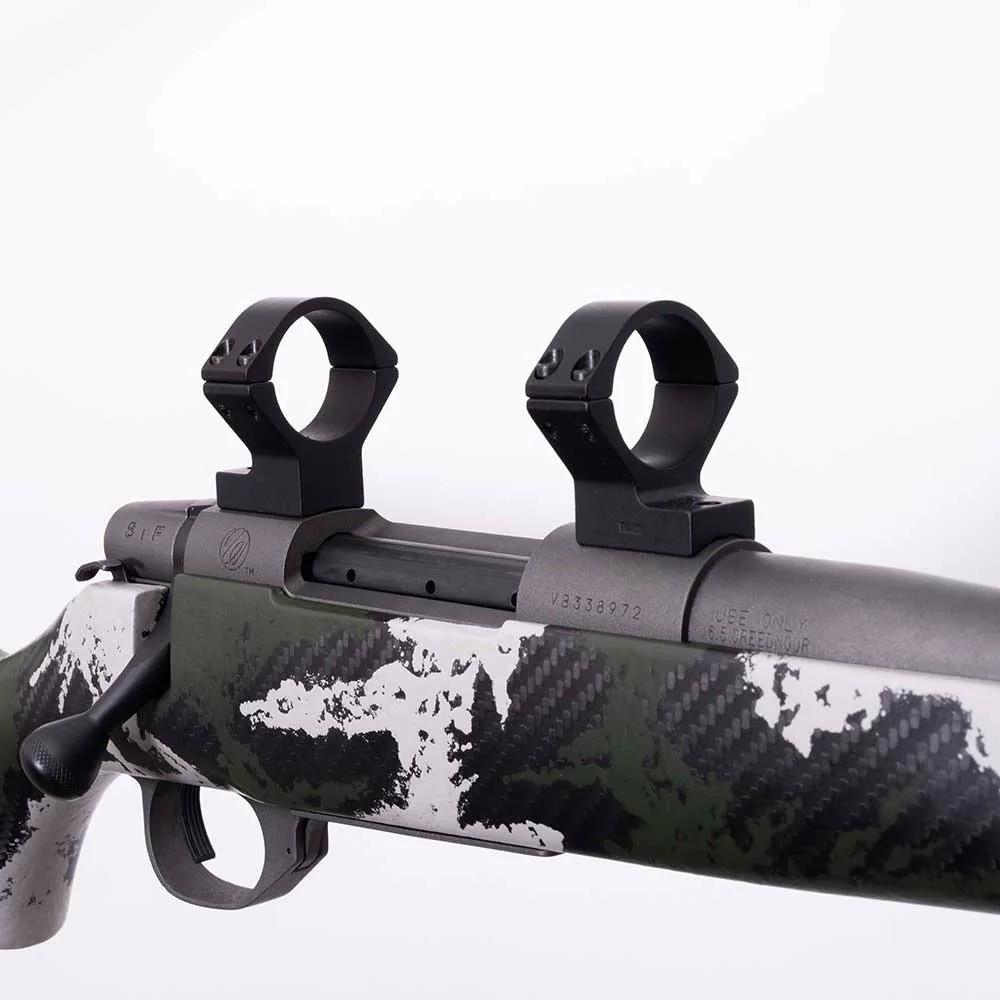
Weatherby
Weatherby Vanguard 2-Piece Lightweight Scope Mount Long & Short Action 1" Low Black
$46.93
Related articles
All articles →
shooting sticks
Shooting Sticks vs. Bipods: Which Is Better for Your Hunt?
Shooting sticks and bipods both improve shooting stability, but they serve different hunting styles. Compare their strengths and choose the support that fits your terrain, rifle, and season.

deer hunting
Reading Buck Sign Before the Pre-Rut: How to Scout North Carolina's October Window
Early October gives North Carolina deer hunters a valuable scouting window. Learn how to read fresh buck sign, confirm daylight movement, and build a wind-smart hunt before the October 17 opener.

deer hunting
Opening Weekend Meat Care: How to Field Dress, Cool, and Pack Out a Deer Fast in North Carolina Heat
Early North Carolina deer season brings warm, humid conditions that can ruin venison quickly. Use this practical guide to field dress, cool, quarter, and pack out your deer without wasting meat.