
How to Field Dress a Deer: A Step-by-Step Guide for North Carolina Hunters

October 19, 2026
October brings crisp mornings, changing leaves, and the chance that your next hunt will end with a deer on the ground. Before you reach for your knife, slow down. A safe, clean field-dressing job starts with controlling the scene and completing North Carolina’s harvest-reporting steps, then moves through deliberate cuts that protect the meat from avoidable contamination.
This guide focuses on the hands-on sequence. Conditions, equipment, and local requirements can vary, so follow current North Carolina Wildlife Resources Commission (NCWRC) rules and public-health guidance. If you feel unsure about any part of the process, stop and ask an experienced hunter or qualified wildlife professional for help.
Before you begin: make the scene safe and report the harvest
Keep your firearm pointed in a safe direction. Engage the safety, unload it when appropriate, and set it down securely away from the work area. Do not place it where it can fall, get covered, or sit within reach of someone who does not know its condition.
Approach the deer cautiously. Watch from a safe distance and look for breathing, movement, or other signs that the animal may still be alive. If you are uncertain, do not touch or approach it. Give it space and seek help from an appropriate wildlife professional or local authority.
Before moving the deer, check your harvest-reporting requirements. NCWRC’s official Big Game Harvest Reporting page explains how to validate and report a harvest. Its current instructions require validation at the kill site and reporting before the deer is dressed for consumption, left unattended by the successful hunter, or placed in another person’s possession, or by noon the following day, whichever comes first. Confirm the current steps and deadline on that official page before you begin.
Prepare a clean, organized work area
Lay out your gear before you make the first cut. You want disposable gloves, a sharp knife, clean game bags, a headlamp if light is fading, and clean water or wipes for your hands and equipment. A clean tarp can help separate the deer from leaves, dirt, and brush. Keep drinking water and personal items away from the work surface.

Put the knife down safely whenever you change tasks. Keep the blade sharp, grip it firmly, and cut away from your fingers and body. Gloves help keep your hands cleaner, but they do not make careless handling safe. Change them if they tear or become visibly contaminated.
Step-by-step: field dress the deer
- Choose a stable position. Use level ground when you can. If the terrain slopes, position the deer so it will not roll toward you while you work. Clear branches and loose gear from around the body. A second person can help steady the deer, but agree on hand placement and knife movements first.
- Position the body and inspect the outside. Place the deer on its back if the terrain allows, with its legs held apart enough to give you a clear work area. Check the hide and body for dirt, hair, or visible damage that may affect the cut path. Keep your hands and knife away from any suspected wound area.
- Start with a shallow opening. Put on clean gloves. Lift the skin at the lower abdomen and make a small, controlled opening. Keep the blade edge directed away from your hands, and avoid driving the point into the body. A shallow cut through the hide and abdominal wall gives you more control than one deep, fast stroke.
- Extend the cut carefully. Open the body cavity in short sections, using your free hand to lift the hide and create space between the blade and the organs. Keep the cut controlled as you work toward the chest. If your knife catches or you lose a clear view of the blade, stop, reset your grip, and continue only when you can see what you are doing.
- Protect the organs and surrounding meat. Stomach, intestines, bladder, and other organs can spill contents if punctured. Keep the blade shallow and avoid pulling hard on tissue. If the deer’s position or your reach makes the cut awkward, reposition the body rather than forcing the knife into a blind area.
- Free the lower end carefully. Work slowly around the lower digestive tract. Avoid cutting into it or squeezing it. If you are not confident about freeing this area cleanly, pause and get help rather than making repeated cuts that could spread contents through the cavity.
- Open the cavity and free the diaphragm as appropriate. Once the abdomen is open, use controlled cuts to separate the diaphragm from its attachments along the rib cage. Keep the blade close to the tissue you are freeing, not pointed deeply into the chest. Do not rush through areas you cannot see clearly.
- Remove the entrails without dragging them across the meat. Support the organs and ease them out of the body cavity. Work steadily and avoid tearing or squeezing them. If anything spills, stop before continuing. Keep the contaminated material away from clean surfaces and meat, and use clean gloves or tools as needed.
- Handle the windpipe and esophagus with care. Free them carefully at the throat end if you can reach them safely. Keep the esophagus contained, and guide these structures with the organs rather than dragging them across the cavity. If they resist, do not yank. Reassess the cut and seek help if needed.
- Look over the cavity and your equipment. Check for visible contamination, unusual odor, or abnormalities that concern you. Do not treat a visual inspection as a guarantee that the meat is safe. If you see something unusual or cannot handle contamination cleanly, keep the meat separate and contact NCWRC or a qualified wildlife professional for guidance. Follow current public-health advice.


After the cavity is open
Keep the meat clean and get it cool promptly. Protect the carcass from dirt, insects, and unnecessary contact with equipment. Use clean game bags where appropriate, and avoid sealing warm meat in a way that traps heat. Field dressing is one part of careful handling, not a substitute for prompt cooling and clean processing.
Dispose of remains responsibly and respect property rules. Do not leave parts where you lack permission or where they could create a problem for other people. Check the current NCWRC regulations for applicable requirements, and follow local rules and public-health guidance.
Common field-dressing mistakes to avoid
- Rushing the approach. Confirm the scene is safe and the animal is dead before you move closer.
- Skipping the report. Validate and report the harvest at the required stage, then confirm current steps and deadlines with NCWRC.
- Making deep cuts. Shallow, controlled strokes give you more control around organs and the cavity.
- Working with a dirty or dull knife. A clean, sharp blade and clean gloves make careful handling easier.
- Pulling hard on organs or tissue. If something resists, stop and check what remains attached instead of yanking.
- Ignoring contamination or unusual signs. Keep questionable meat separate and seek qualified guidance.
Quick checklist at the site
- Secure your firearm and confirm the scene is safe.
- Approach cautiously, and do not touch the deer if you are unsure it is dead.
- Validate and report the harvest according to current NCWRC requirements.
- Put on gloves and set out a clean work area, knife, game bags, light, and clean water or wipes.
- Position the deer securely and make shallow, controlled cuts.
- Protect the abdominal cavity and avoid puncturing or squeezing organs.
- Remove entrails carefully, then inspect for contamination or concerns.
- Keep the meat clean, cool it promptly, and follow current rules for handling and remains.
Serving North Carolina hunters
Iron Valor Armory shares practical hunting and gear guidance for hunters in Rocky Mount, NC, Wilson, Tarboro, Greenville, Roanoke Rapids, Henderson, Goldsboro, Elm City, Sharpsburg, Bailey, Middlesex, Wake Forest, Clayton, Smithfield, Kinston, Knightdale, Rolesville, and Youngsville. Explore more hunting-season articles on the Iron Valor Armory blog.
A careful field-dressing job depends on patience, clean habits, and sound decisions at every stage. Secure the scene, handle the knife deliberately, follow current reporting rules, and ask for help when the conditions call for it.
Published by Iron Valor Armory · Rocky Mount, NC 27803
Shop hunting & outdoors →Shop hunting & outdoors in stock
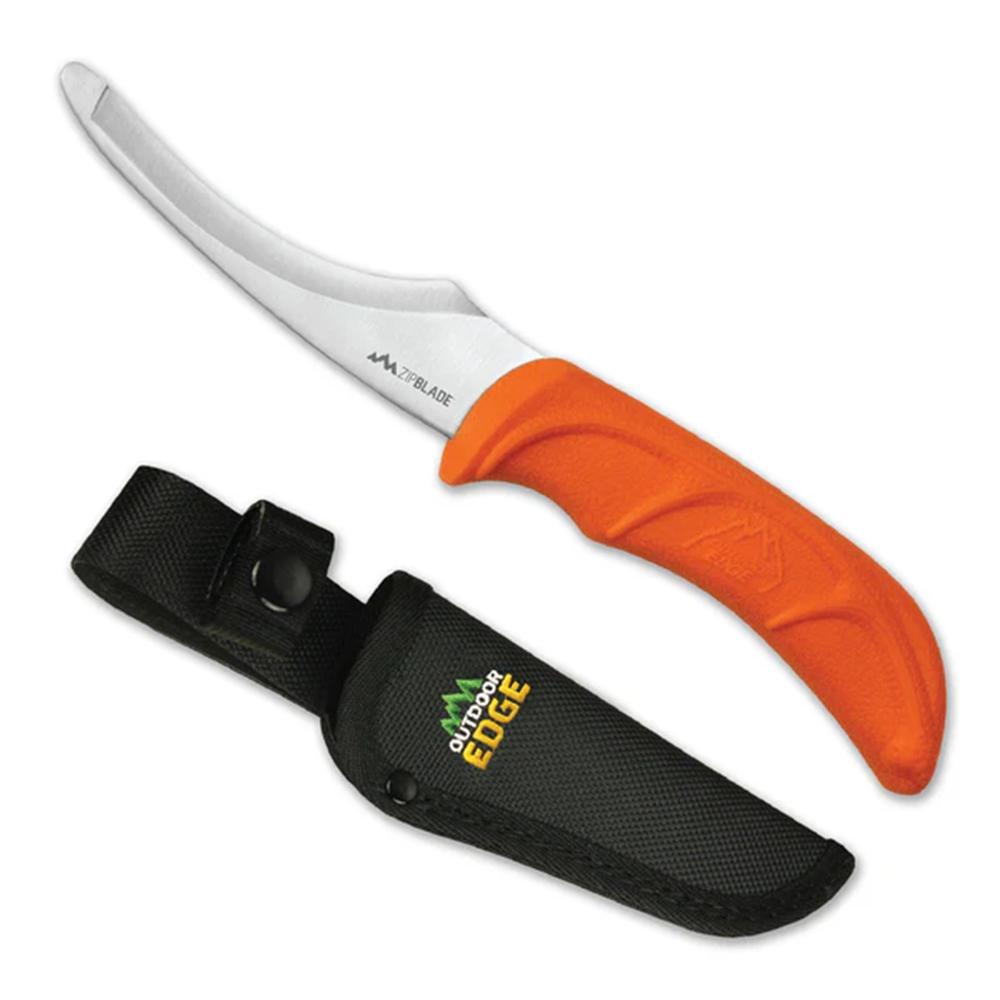
Outdoor Edge
Outdoor Edge ZipBlade Fixed-Blade Field Dressing Knife 4" Blade Orange
$13.92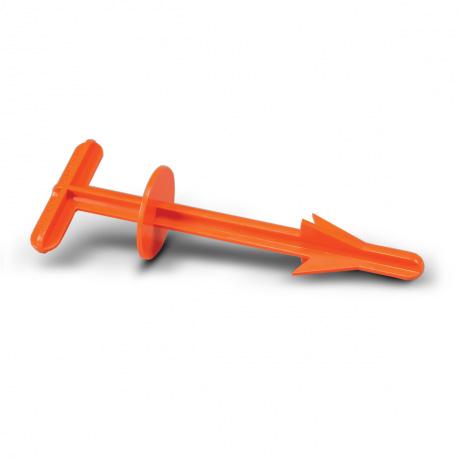
Hunters Specialties Inc.
Hunters Specialties Butt Out 2 Field Dressing Tool
$6.54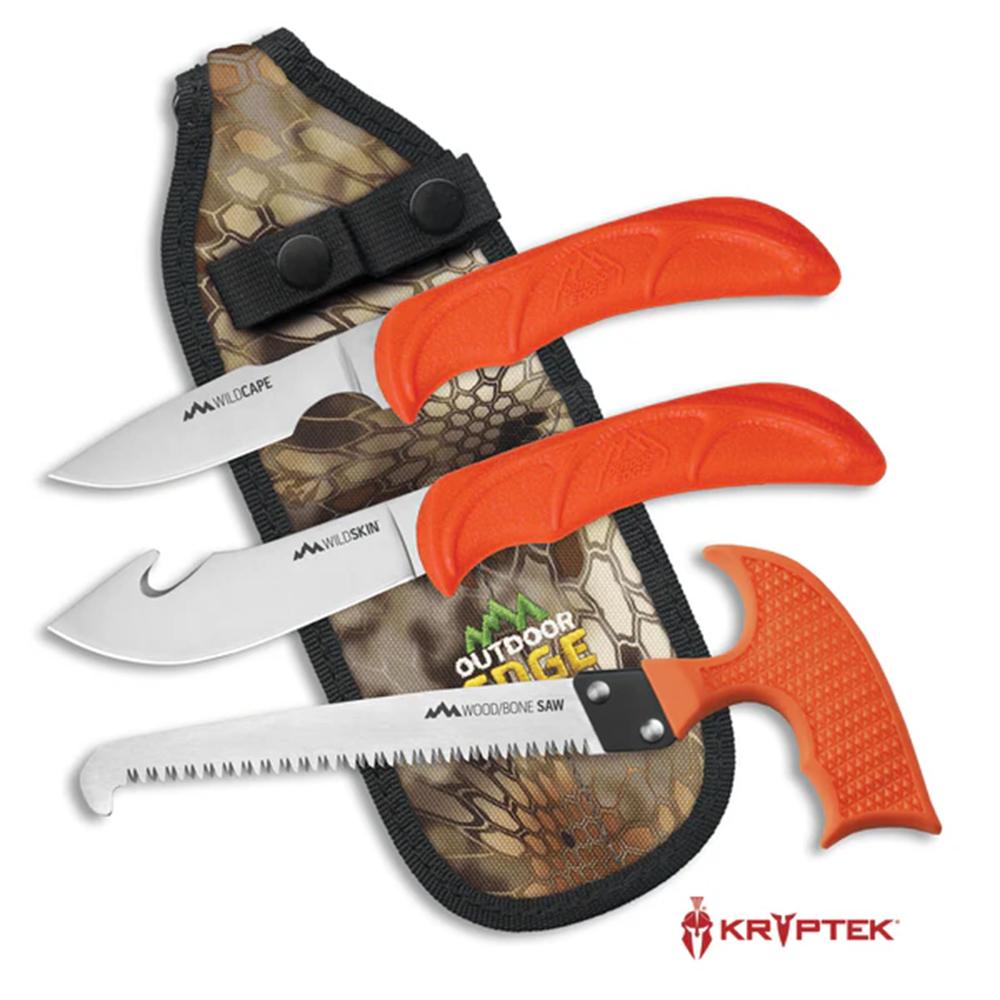
Outdoor Edge
Outdoor Edge WildGuide 3-Piece Field Dressing Combo with Caping Knife/Skinner/Saw
$33.87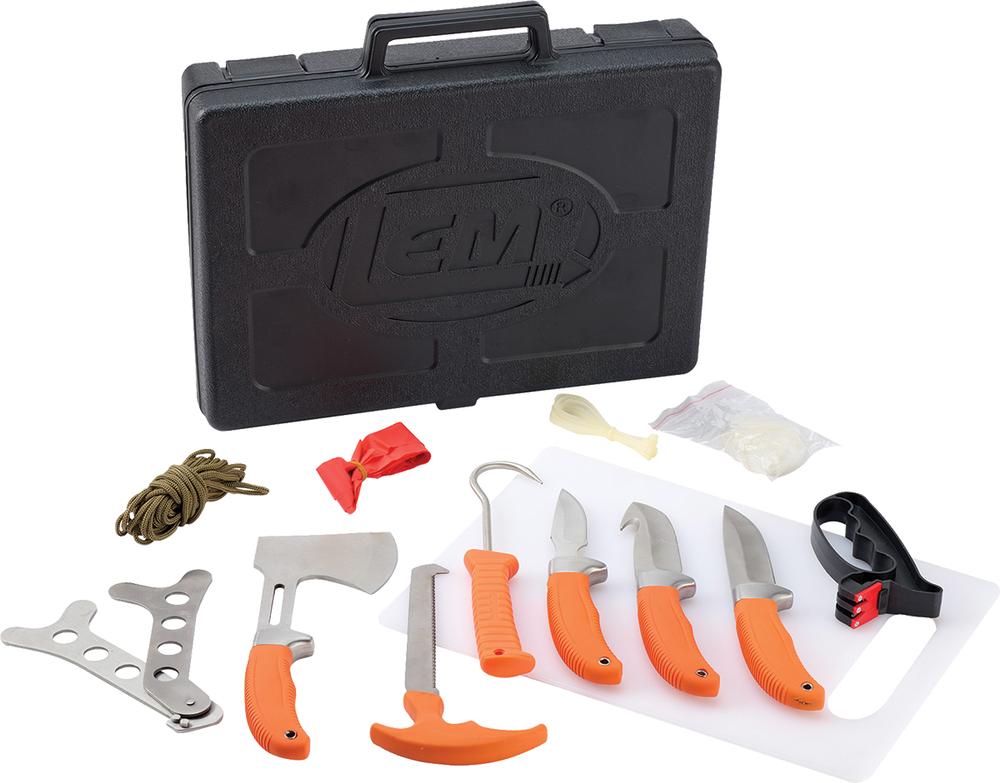
LEM Products
LEM Products Field Dressing Knife Kit
$67.61
Related articles
All articles →
deer hunting
Deer Hunting With a Shotgun in North Carolina: Slugs, Buckshot, and Effective Range
Compare slugs and buckshot for North Carolina deer hunting, set a range based on your own tested pattern or group, and make safety and local rules part of every hunt.
deer hunting
Hunting Pressured Deer After Opening Weekend: Tactics for North Carolina's Second Week
Opening weekend changes the woods, but it does not end your chances. Learn how to read pressure, adjust your setup, and hunt North Carolina's second week with a patient plan.

trail cameras
Trail Cameras Before the October Opener: How to Read Deer Movement in North Carolina
October deer movement changes fast as acorns take over the food source and the rut builds. Here is where to place trail cameras, how to check them with less disturbance, and how to read the photos before the opener.